PTC Creo is a 3D modeling software used in our Solid Modeling and Design class (DFTG 2440) and is among the more popular tools in industry today. The software is an adaptable, scalable, and interoperable suite of design software that helps teams to create and analyze product designs and leverage this information downstream.
Instructions
Please click each header below in sequence to read and follow the steps required to install your software.
REGISTER
In order to get your student copy of PTC Creo, you first need to register with the PTC Academic Program.
- Navigate to the PTC Academic Program registration page by clicking here.
- Enter your personal information for name, location, and phone number:
- Use your ACC student email address
- Select College/University student for What describes you
- Select Student for Job Category
- Select Education for Job Function
- Click Submit.
Follow the steps in the Download section below to continue.
DOWNLOAD
Once you have registered with the PTC Academic Program and clicked the Submit button:
- Click on Install Creo 8.0 Now
- A new tab will open in your browser containing an installation guide that you can refer to if needed.
- If the page does not appear or is closed accidentally, you may retrieve it here.
- To download PTC Creo 8.0 click here.
- You will need to login using your PTC Education Account, or create one if you have not already done so.
Create a PTC Academic Account:
- To create a new PTC Education Account, choose “Create a new Education Account” on the right side of the login page, or click here.
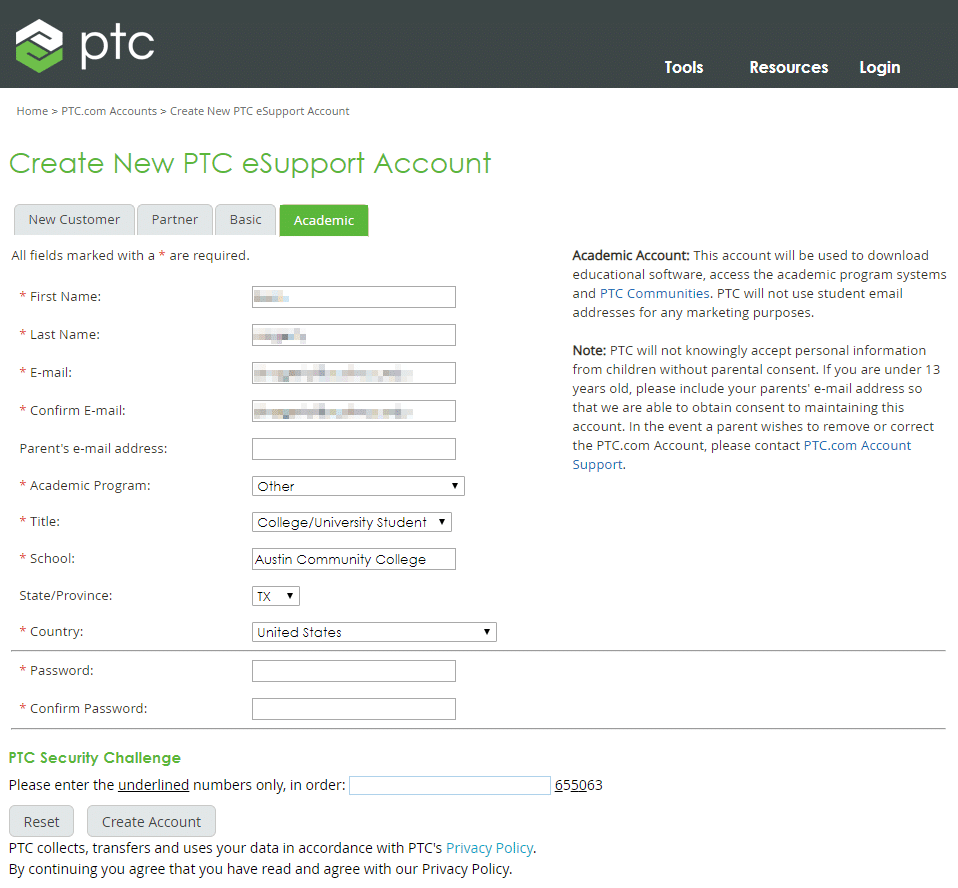
- On the “Create New PTC eSupport Account” page, fill out the fields with the following information:
- First Name
- Last Name
- For E-mail, use your ACC student email address (ends in @g.austincc.edu)
- For Academic Program, choose “Other”
- For Title, choose “College/University Student”
- For School, type in “Austin Community College”
- Fill out the rest of the fields, then click the Create Account button.
- Once you have created a PTC Education Account, click the ‘Return to the page that sent me here’ link or click here to return to the login page and continue with the process to download PTC Creo 8.0.
Download PTC Creo 8.0:
- Agree to the PTC Export Agreement (see image below), by scrolling down a little bit and checking the checkbox, then click Continue.
- On the PTC Academic Program – Free Download Page, click on the HTTPS link on the right side of the line labeled “Win 64 DVD” for Creo 8.0 (see image below) and await the download to complete.
- NOTE: You can also choose to download the HelpCenter so that you have the Creo help information accessible offline. To do so, click on the HTTPS link for it. If you do choose to download it, refer to the Install Help Center (Optional) section below.
Now that you have successfully downloaded PTC Creo 8.0, proceed to the Installation section below to install Creo 8.0, and the HelpCenter if you choose to do so.
INSTALL
Once the PTC Creo has finished downloading:
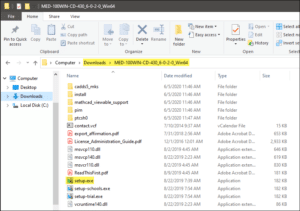
- Locate the downloaded ZIP file named MED-100WIN-CD-450_####_Win64 (usually located in your Downloads folder).
- NOTE: the “####” represent the build number/code of Creo that you downloaded. The actual number will vary as additional builds are released. As of writing this, the file is named “MED-100WIN-CD-450_8-0-0-0_Win64.zip”.
- Extract all of the contents of the ZIP file to a folder of the same name.
- If you have a previous installation of an older version of PTC Creo on your machine, please go to C:\ProgramData\PTC\Licensing and delete all the older licenses before continuing.
- After the ZIP file has been extracted, locate the setup.exe file and right-click on it to select
 Run as administrator from the pop-up menu to begin the installation.
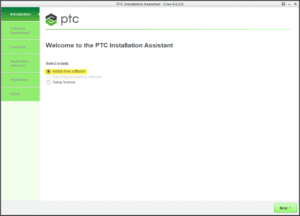
- When the PTC Installation Assistant launches, select Install new software, then click Next.
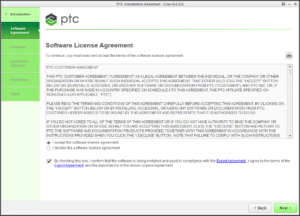
- Accept the Software License Agreement and check the checkbox at the bottom for the Export Agreement. Then click Next.
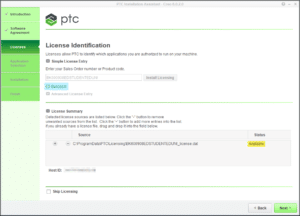
- Click the + in front of ‘Node Locked License Generation’ option to enter the code found in step #4 of the previously linked installation guide (here) and then click Install Licensing.
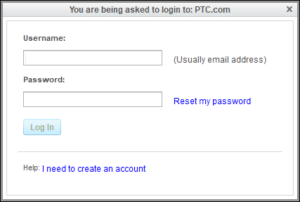
- In the login screen that pops up, enter in your PTC username (your ACC student email address used to create your account) and your password. Then click Log In.
- When you see “Success!” under the Simple License Entry field, and you see Available in the License Summary section, click Next.
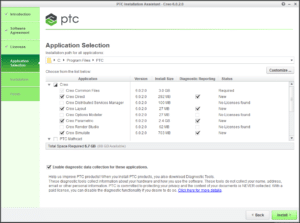
- In the Application Selection screen, deselect any application you do not need, or just leave the default selections. Then click Install.
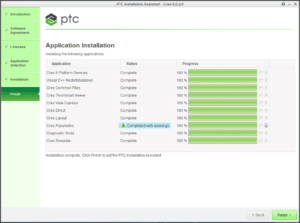
- The installation process may take some time depending on the performance of your computer.
- After all the applications have installed, click Finish.
- NOTE: If you get the
 Completed with warnings message, you can safely ignore it.
- NOTE: If you get the
Congratulations! You have successfully installed PTC Creo!
INSTALL HELP CENTER (OPTIONAL)
Once the PTC Creo Help Center has finished downloading:
- Locate the downloaded ZIP file named MED-100WIN-CD-430_####_HelpCenter (usually located in your Downloads folder).
- NOTE: the “####” represent the build number/code of Creo that you downloaded. The actual number will vary as additional builds are released. As of writing this, the file is named “MED-100WIN-CD-430_6-0-2-0_HelpCenter.zip”.
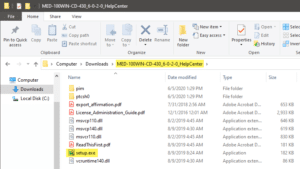
- Extract all of the contents of the ZIP file to a folder of the same name.
- After the ZIP file has been extracted, located the setup.exe file, and Right-click and select
 Run as administrator from the pop-up menu to begin the installation.
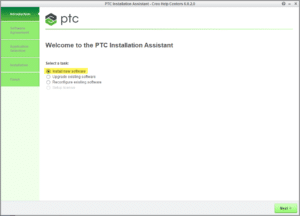
- When the PTC Installation Assistant launches, select Install new software, then click Next.
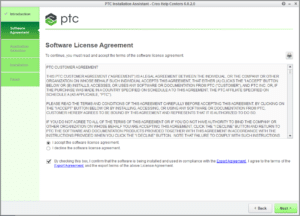
- Accept the Software License Agreement and check the checkbox at the bottom for the Export Agreement. Then click Next.
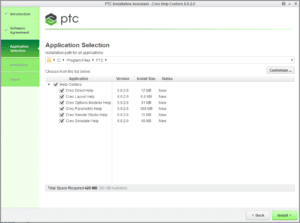
- In the Application Selection screen, deselect any help information you do not need, or just leave the default selections. Then click Install.
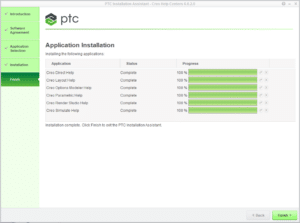
- The installation process may take some time depending on the performance of your computer.
- After all the applications have installed, click Finish.
Congratulations! You have successfully installed the PTC Creo Help Centers!


