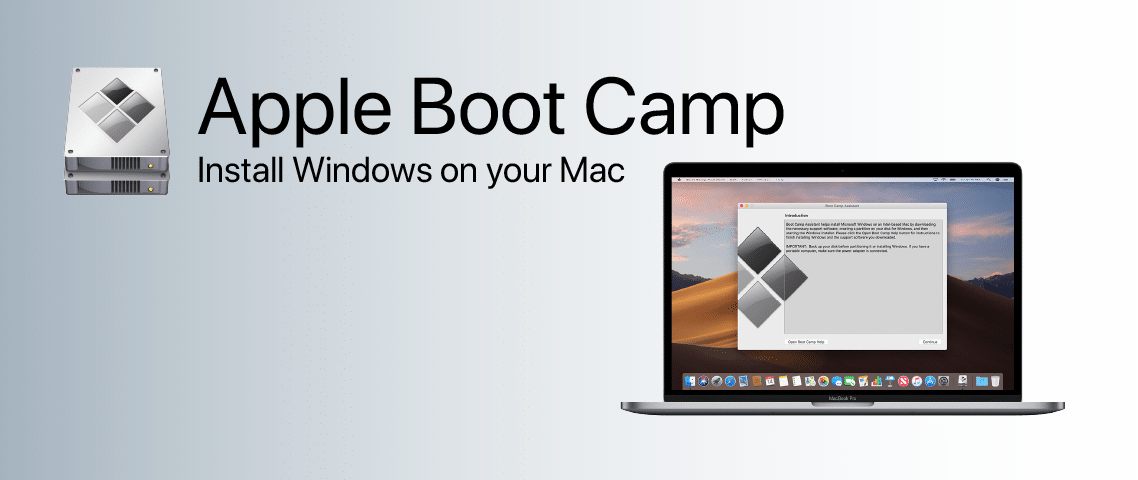
Boot Camp is a free utility that comes with your Mac and lets you switch between macOS and Windows. Download your copy of Windows 10, then let Boot Camp Assistant walk you through the installation steps.
NOTE: The A&E CAD Tech Support Team officially recommends Boot Camp over Parallels – not only because it is free, but because it has proven to be more stable than Parallels.
Instructions
Please click each header below in sequence to read and follow the steps required to install your software.
DOWNLOAD WINDOWS 10
To start the process of setting up Apple Boot Camp® we need to first get an ISO disk image of Windows 10 to use for the installation. To do that:
- From your Mac, download Microsoft Windows 10 from here.
- In the first dropdown on the page, select Windows 10 as your Edition, then click Confirm.
- In the second dropdown, select your Language, then click Confirm.
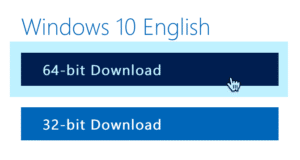
- Finally, click 64-bit Download to download Windows 10.
Once you have Windows 10 completely downloaded, proceed to the Configure Boot Camp section below to continue.
CONFIGURE BOOT CAMP
Boot Camp comes already installed in macOS so there is nothing to download or install for it, so we can jump right into setting it up. To do that, please read and follow the instructions below carefully.
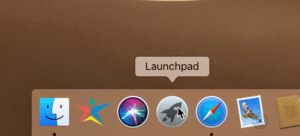
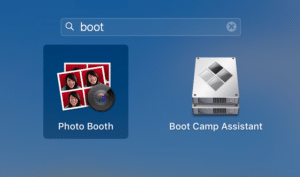
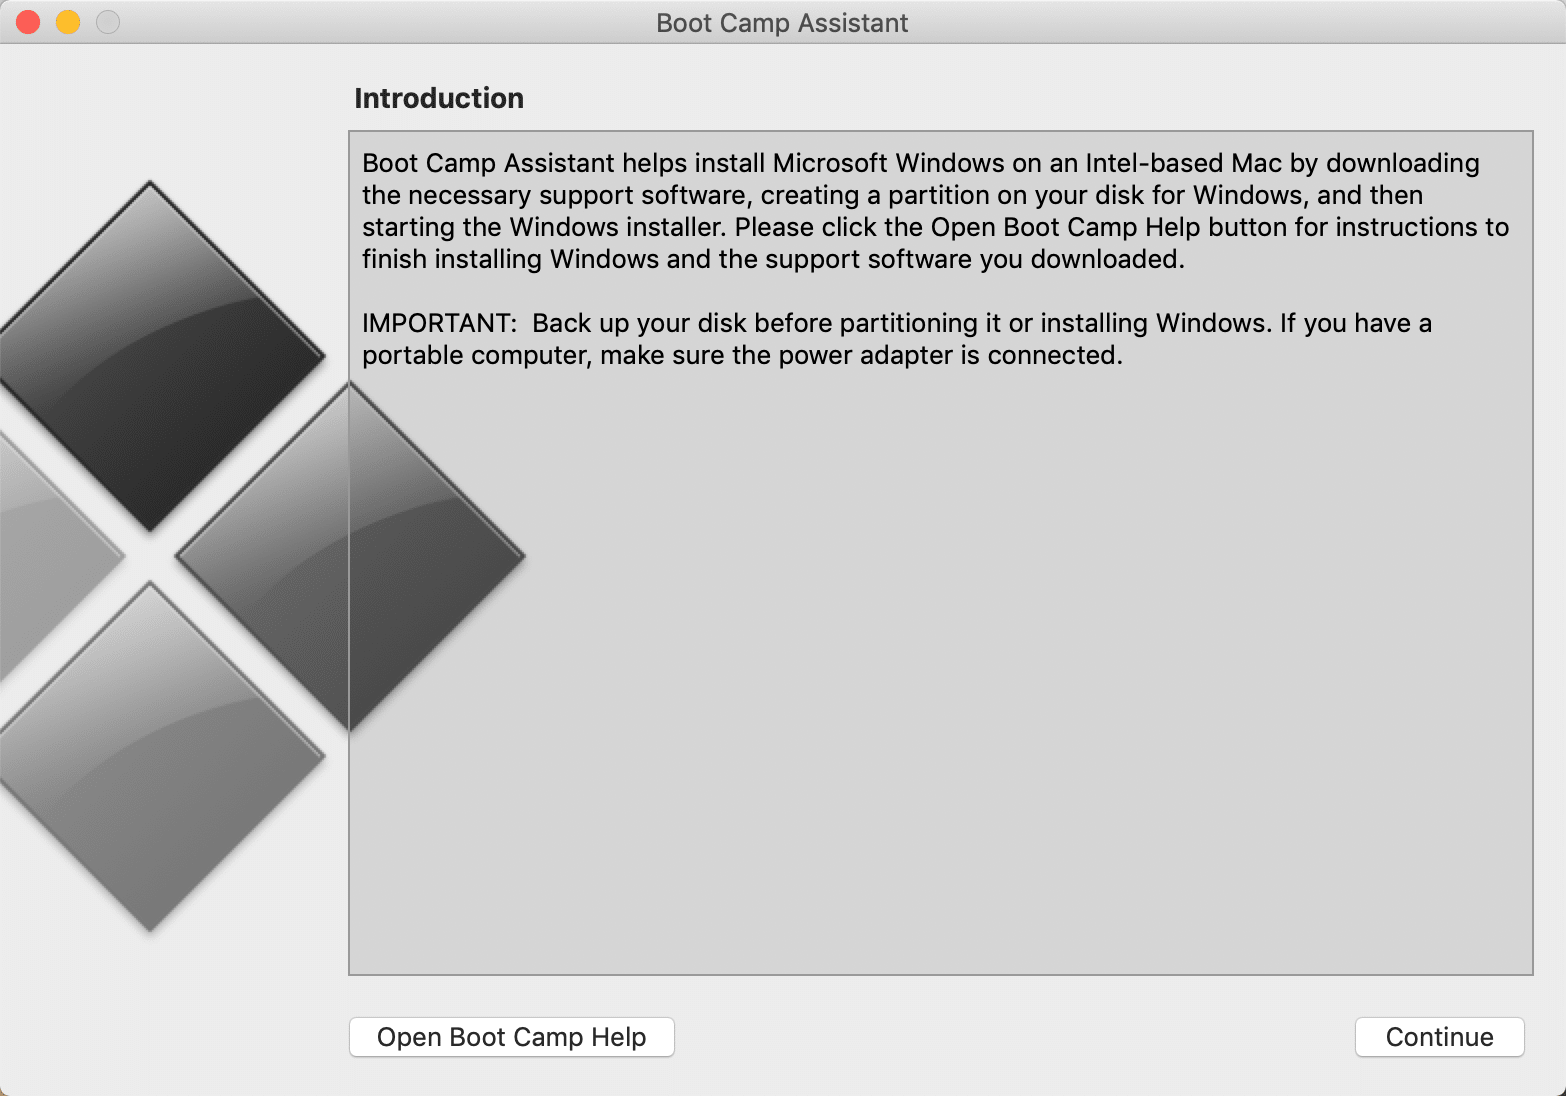
- Launch the Apple Boot Camp Assistant by opening the Launchpad from the Dock and searching for “boot”, then click Boot Camp Assistant from the menu.
- When the Boot Camp Assistant opens, click Continue to begin.
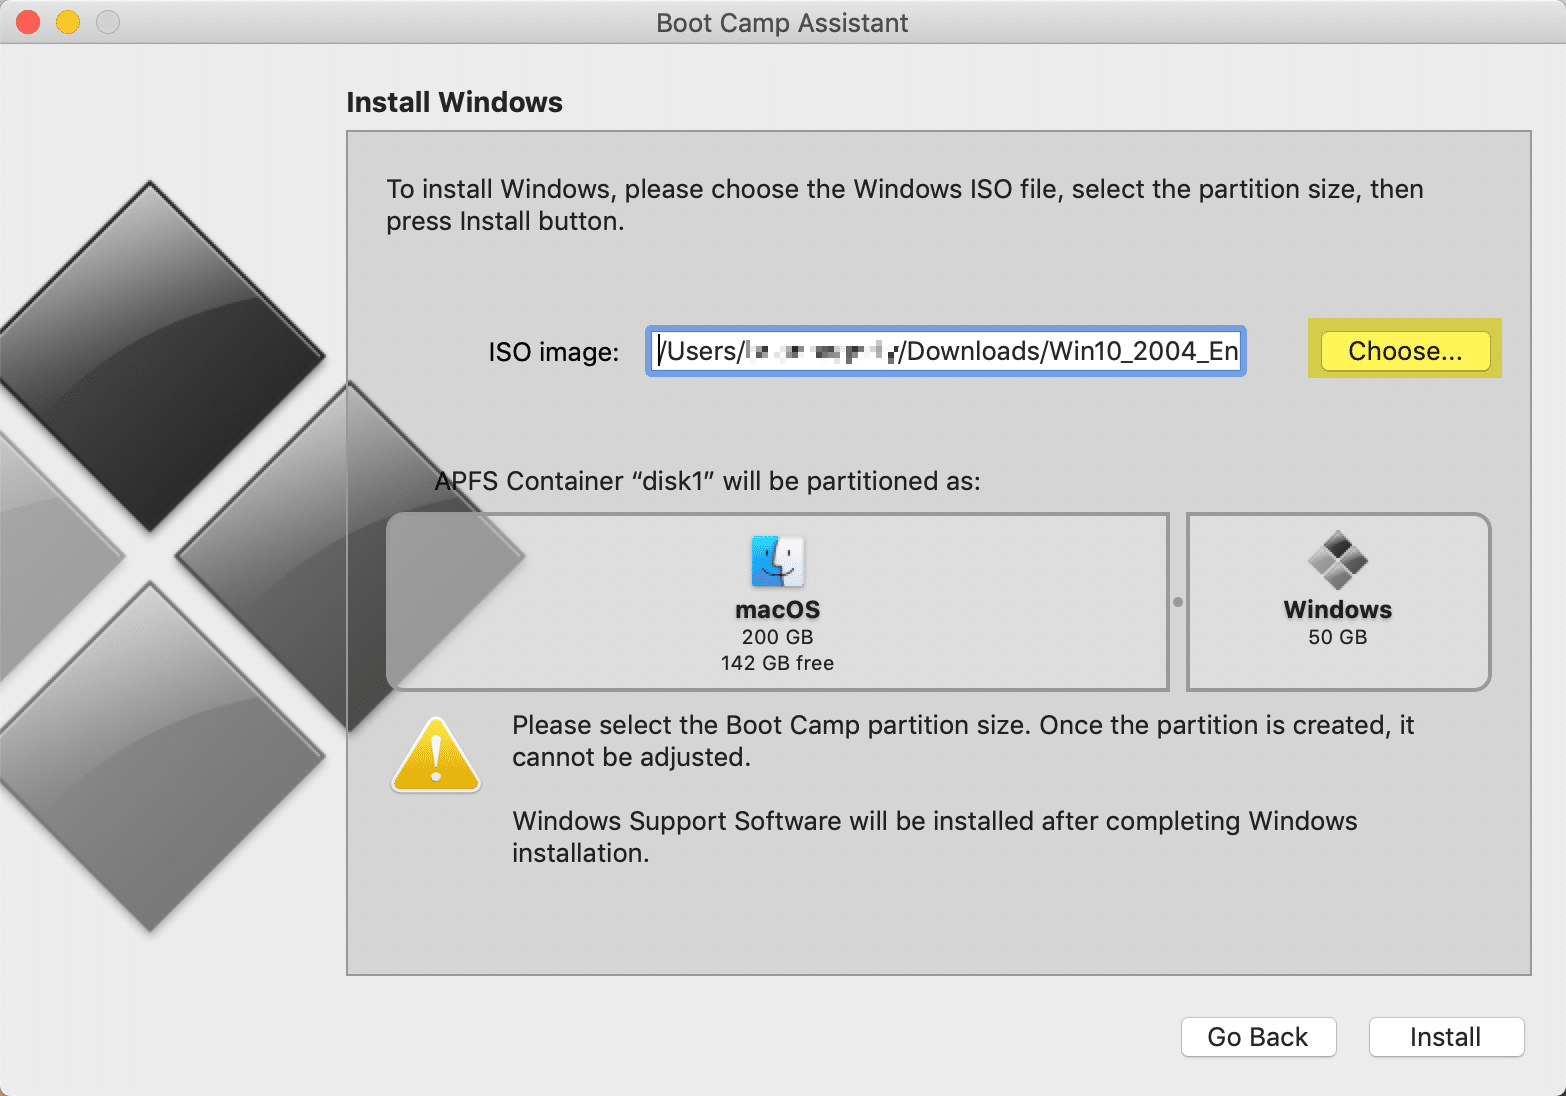
- On the Install Windows screen, click Choose… to locate and select the Windows 10 ISO disk image file you downloaded previously.
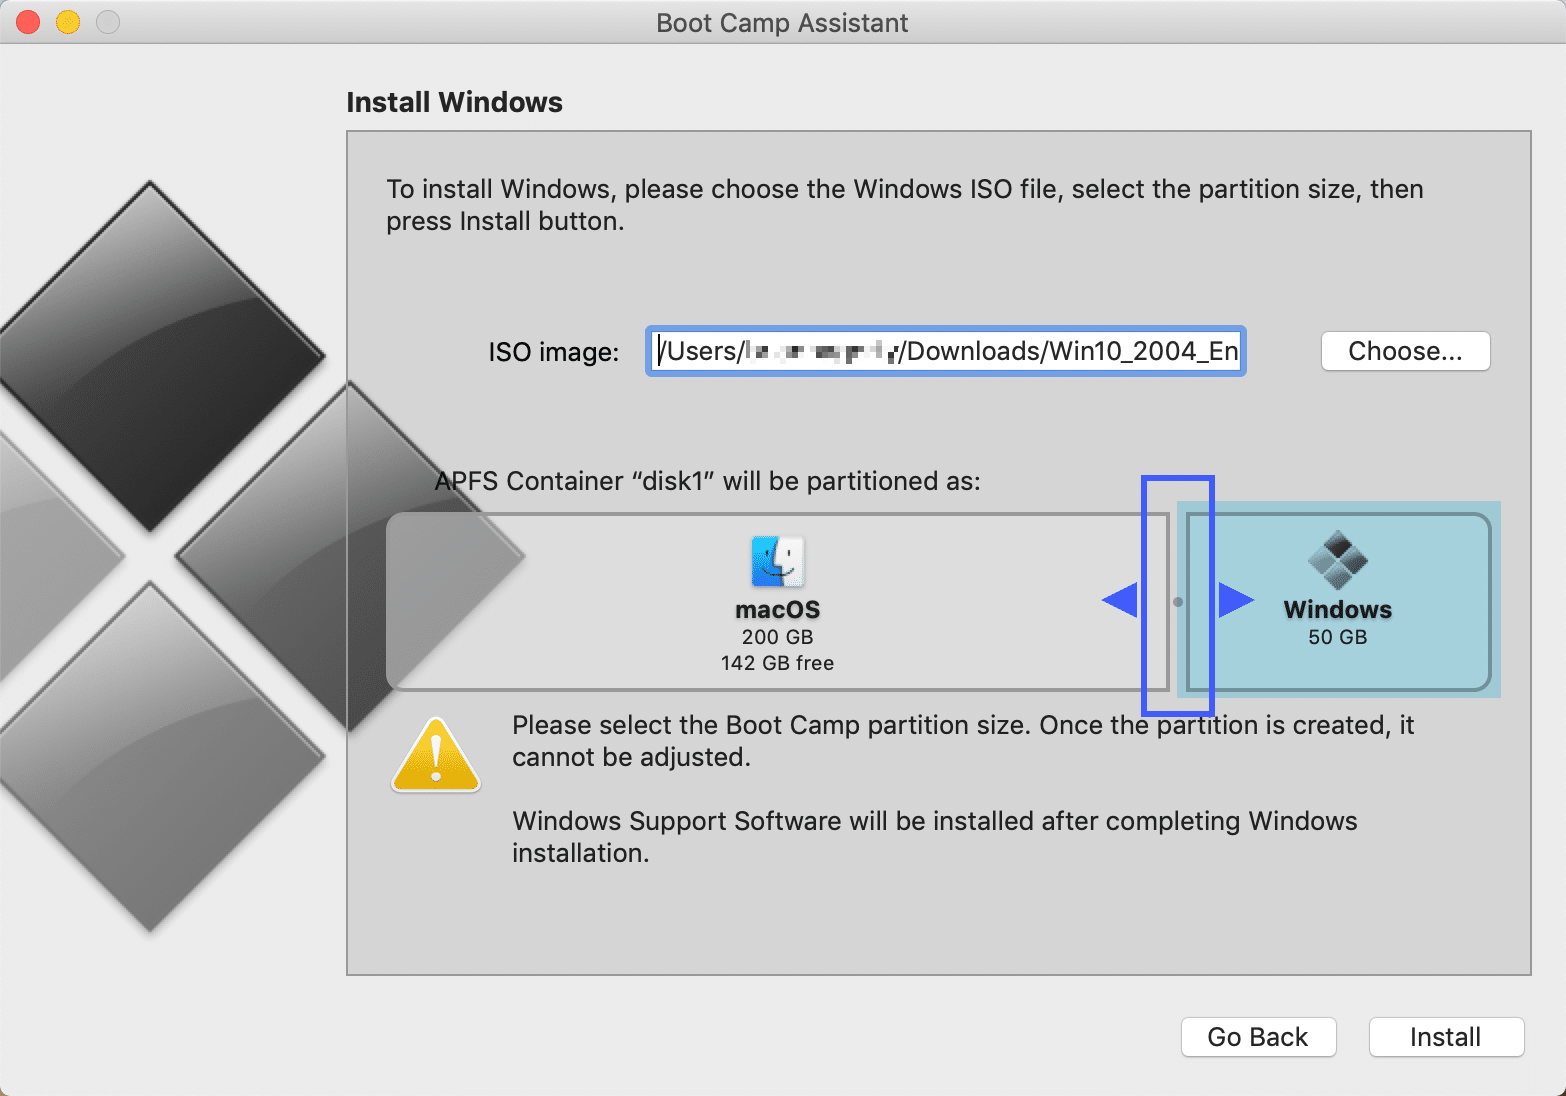
- Next, move the slider to resize the macOS and Windows partitions so that the Windows partition is at least 50 GB in size.
- IMPORTANT: Make sure you have enough space in your Windows partition to install Windows, space to save your work, and all the applications you want to install (check their system requirements, for example Autodesk Inventor 2020 requires approx. 40 GB of space). You will not be able to adjust the partition size later.
- Once you have your ISO file chosen and your partitions sized as required, click Install.
When the Apple Boot Camp Assistant completes the partitioning of your drive and setting everything else up, your Mac will restart and the Windows 10 installation will begin. Follow the instructions in the next section, Purchase & Install Windows 10, to continue.
PURCHASE & INSTALL WINDOWS 10
In this section you will be directed to where we have guides for acquiring a free Windows 10 Education license from the ACC Webstore and how to install Windows 10.
Free Copy of Windows 10 Education
If you need a license (product key) of Windows 10, please read the instructions here to get one through ACC.
Install Windows 10
Once you have your product key and you have completed the setup of Apple Boot Camp, then follow the instructions here to complete the installation of Windows 10.
INSTALL & UPDATE BOOT CAMP IN WINDOWS
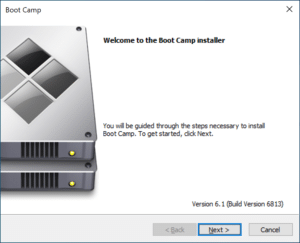
After the Windows installation completes, your Mac starts up in Windows and opens a ”Welcome to the Boot Camp installer” window. Follow the instructions below to install Boot Camp and Windows support software (drivers).
NOTE: If the Boot Camp installer never opens, open the Boot Camp installer manually and use it to complete Boot Camp installation.
Install Boot Camp on Windows
- Click Next on the Welcome to the Boot Camp installer window.
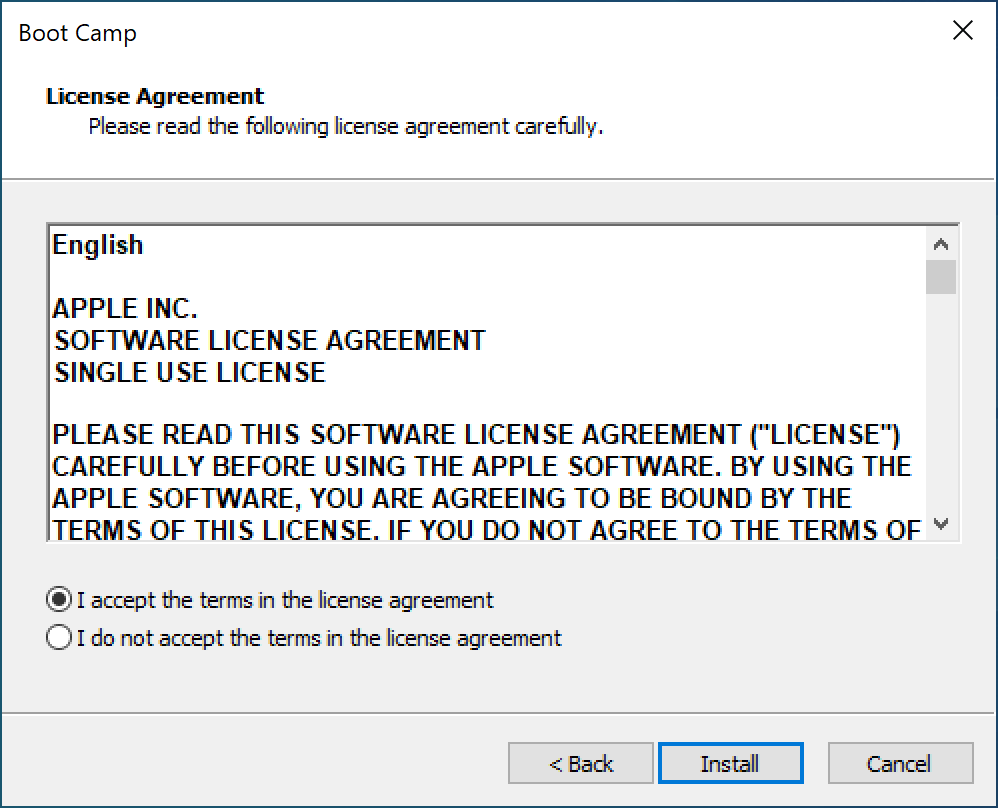
- Accept the License Agreement, then click Next.
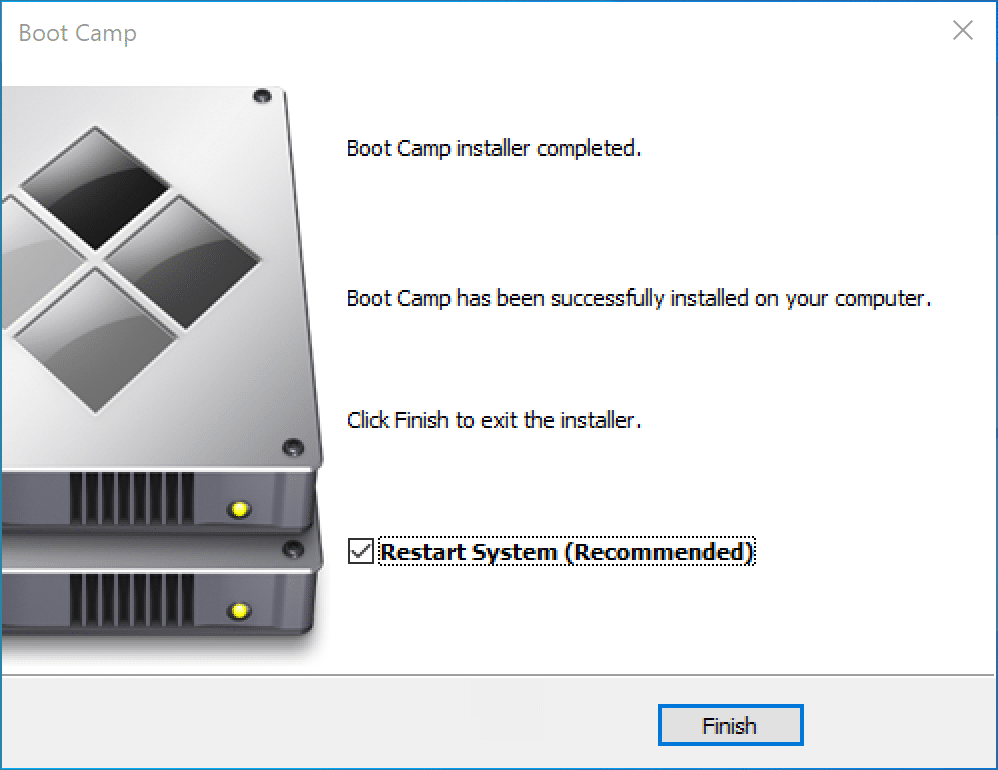
- Once the Boot Camp installer has completed, ensure the checkbox for Restart System (Recommended) is checked, then click Finish to restart your Mac.
Update Boot Camp
After restarting, your Mac will start back up in Windows. In order to get back to macOS and to be able to use Windows properly some updates need to applied to Boot Camp. To perform the updates:
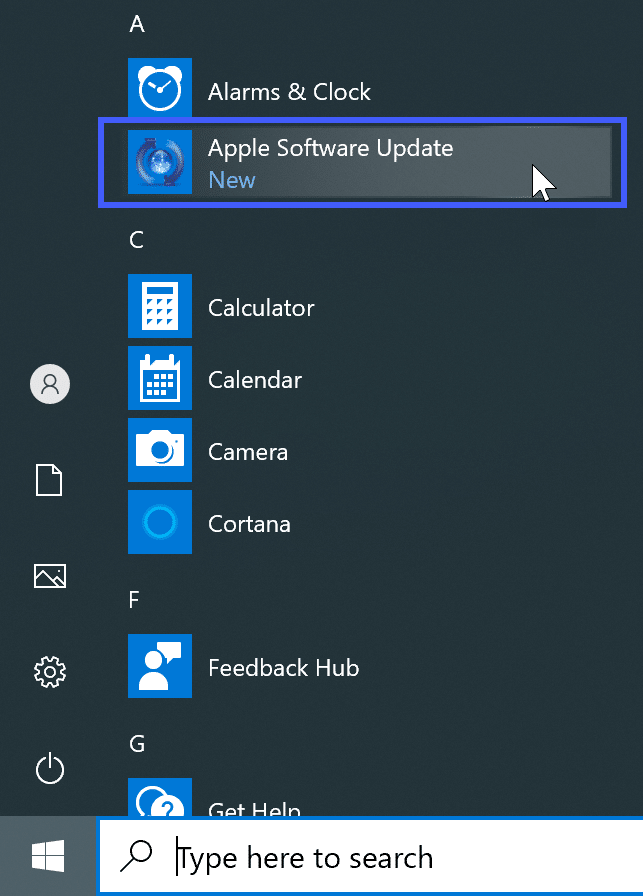
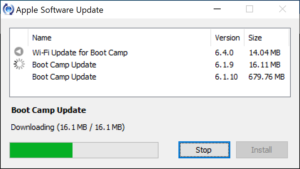
- Launch Apple Software Update from the Start menu.
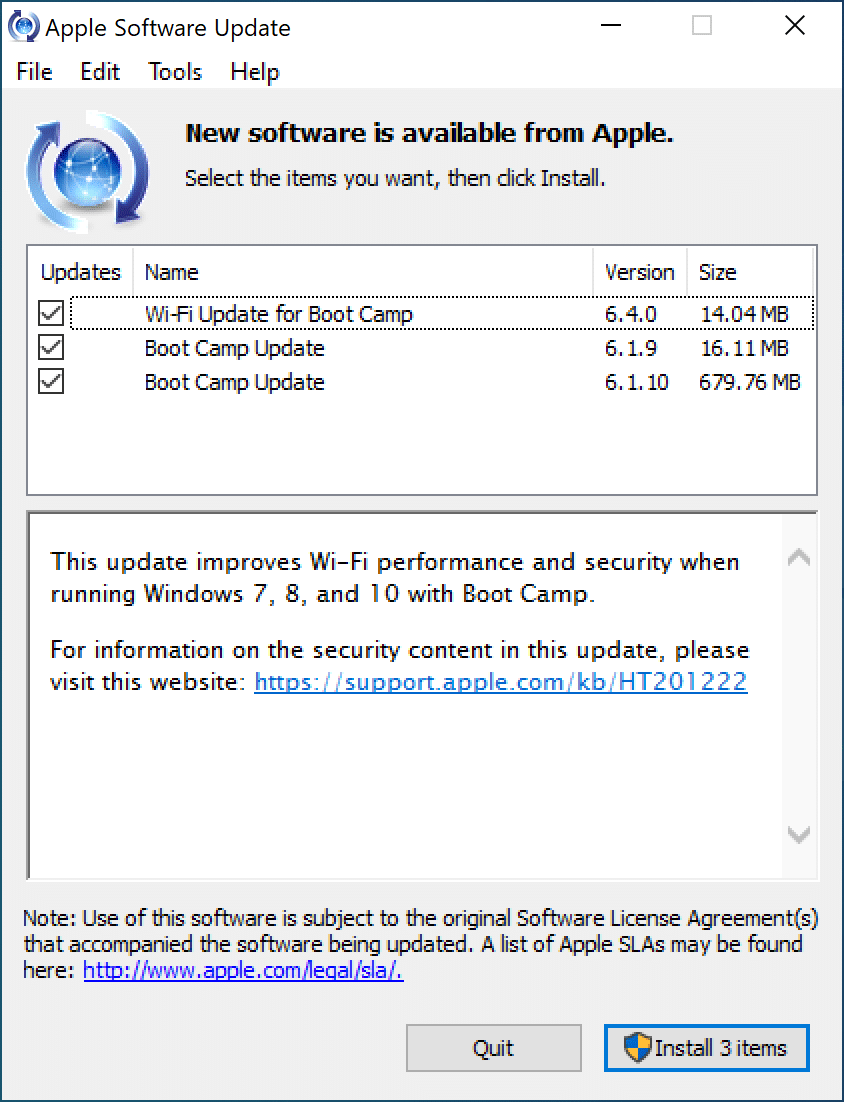
- When Apple Software Update opens there should be 3 updates available, click Install 3 items to begin updating Boot Camp.
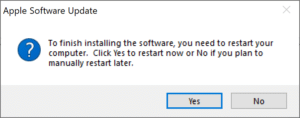
- Once all the updates have installed, click Yes to restart your computer now.
Now that Boot Camp on Windows is fully updated, continue with the section below, Reboot into macOS or Windows, to see how to switch back and forth between the different operating systems.
REBOOT INTO MACOS OR WINDOWS
Reboot into macOS
You have Windows installed and set up, but you need to get back to macOS to work on other projects. To do that follow the instructions below:
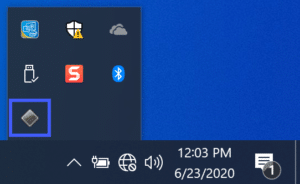
- To restart into macOS from Windows, click on the caret (^) symbol in the Windows System Tray (bottom right corner of your screen).
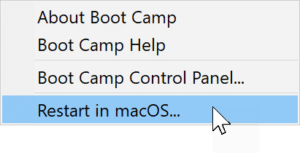
- Then click on the Boot Camp icon and click Restart in macOS… from the menu.
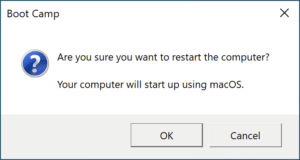
- Finally, click OK to confirm you wish to restart your computer in macOS.
Your Mac will reboot and start back up in macOS. For more information click here.
Reboot into Windows
Now back in macOS you later find that you need to use your CAD software, so you would like to reboot into Windows. To do that follow the instructions below:
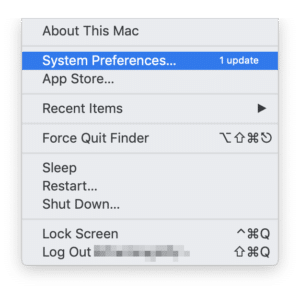
- From the Apple menu click System Preferences.
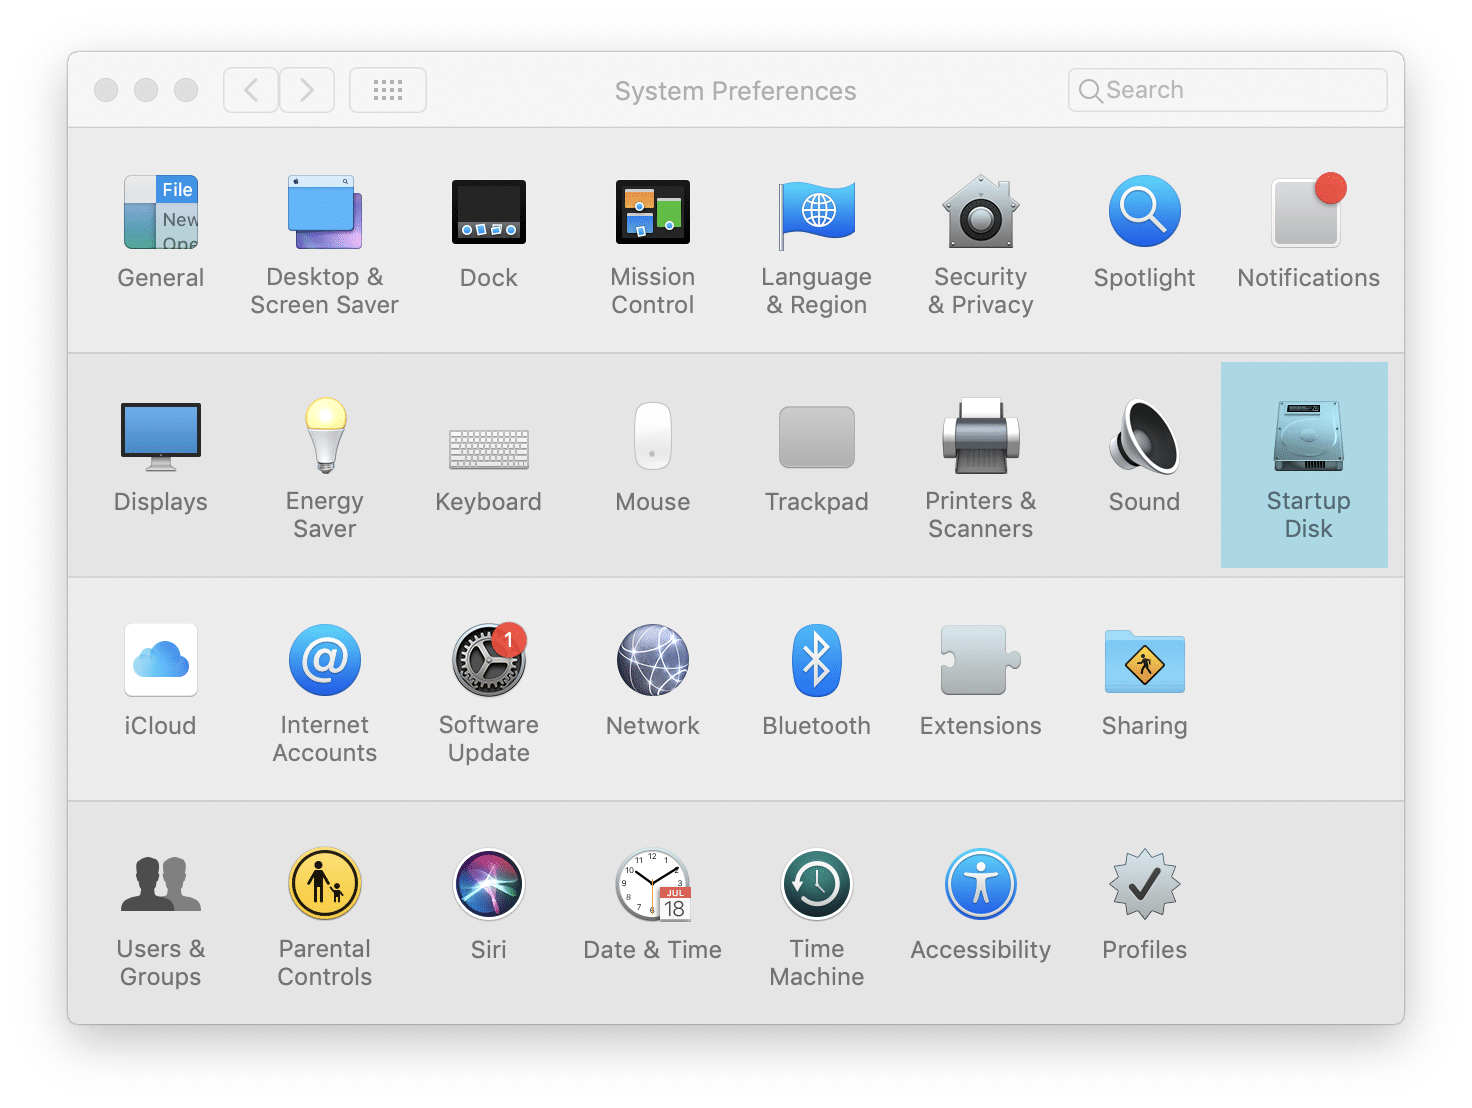
- Click on Startup Disk from the System Preferences window.
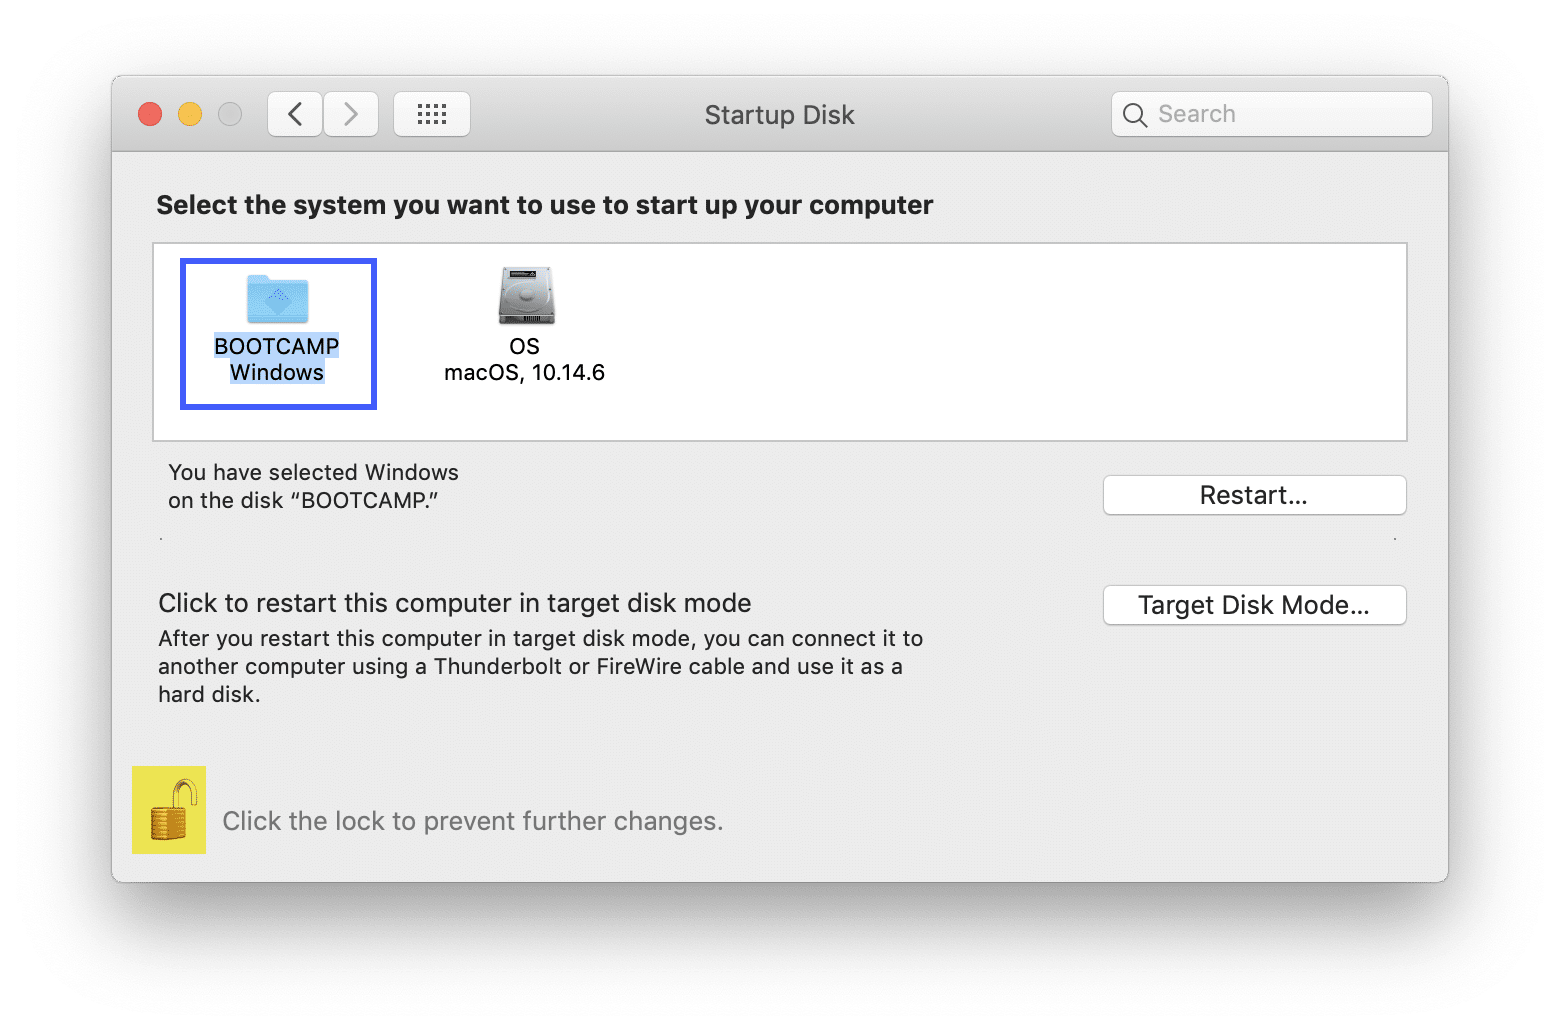
- To make changes, click the lock
 and enter your administrator password.
 - Select BOOTCAMP Windows as the item you want to start up in, then click Restart…
- Finally, confirm you wish to restart into Windows by clicking the Restart button.
Your Mac will reboot and start back up in Windows. For more information click here.
There are a few ways to reboot your computer and choose which operating system (OS) you wish to start up and to find that information refer to the links above. Also, the OS you were last in, Windows or macOS, will be the one you start back up in if you reboot your computer normally and do not choose Restart in macOS… from Windows, or do not change the Startup Disk from macOS.

